Setting Up Your AceCard - A Comprehensive Guide
Welcome to our step-by-step tutorial on setting up your AceCard, the cutting-edge smart tracking device that promises to make your life easier and more organized. Whether you're tired of misplacing your keys, wallet, or other essentials, AceCard is here to help. In this comprehensive guide, we will walk you through the process of configuring and optimizing your AceCard to ensure it seamlessly integrates with your daily routine.
By the end of this tutorial, you'll be well-equipped to harness the full potential of your AceCard, leveraging its advanced features to keep track of your valuable items. Whether you're a tech-savvy enthusiast or a first-time user, our instructions are designed to make the setup process smooth and hassle-free. So, let's dive in and get your AceCard up and running, ensuring you never lose track of your essentials again.
1. Unbox and Turn on your AceCard
Press and hold the power button (Ace logo) for 5 seconds. The device will beep and turn on.
2. Pair the device
- Open the Find My app
- Hold the device close to your iPhone, tap the items tab, tap + and then "Add Other Item"
- After your AceCard is found by your phone, tap connect
- Type a name for your device and select an emoji
- Tap agree to acknowledge that this item will be linked to your Apple ID
- Tap Finish
In the event that your AceCard does shows a "Could Not Continue" screen, this is an iOS error that will be resolved with the full release of iOS 17. For now, you can simply resolve this issue by performing a factory reset of the card.
The factory reset process for AceCard is as follows:
1. Remove AceCard from Apple Find My
Before proceeding with any steps of the factory reset, AceCard must be deleted from your Apple Find My profile in order to be put back into pairing mode.
2. Double click the power button
After double clicking the power button, the device will beep.
3. Long press the power button for eight seconds
Long press the power button for eight seconds until the device beeps again and the light flashes three times. Release the button to complete the factory reset.
NFC Digital Business Card
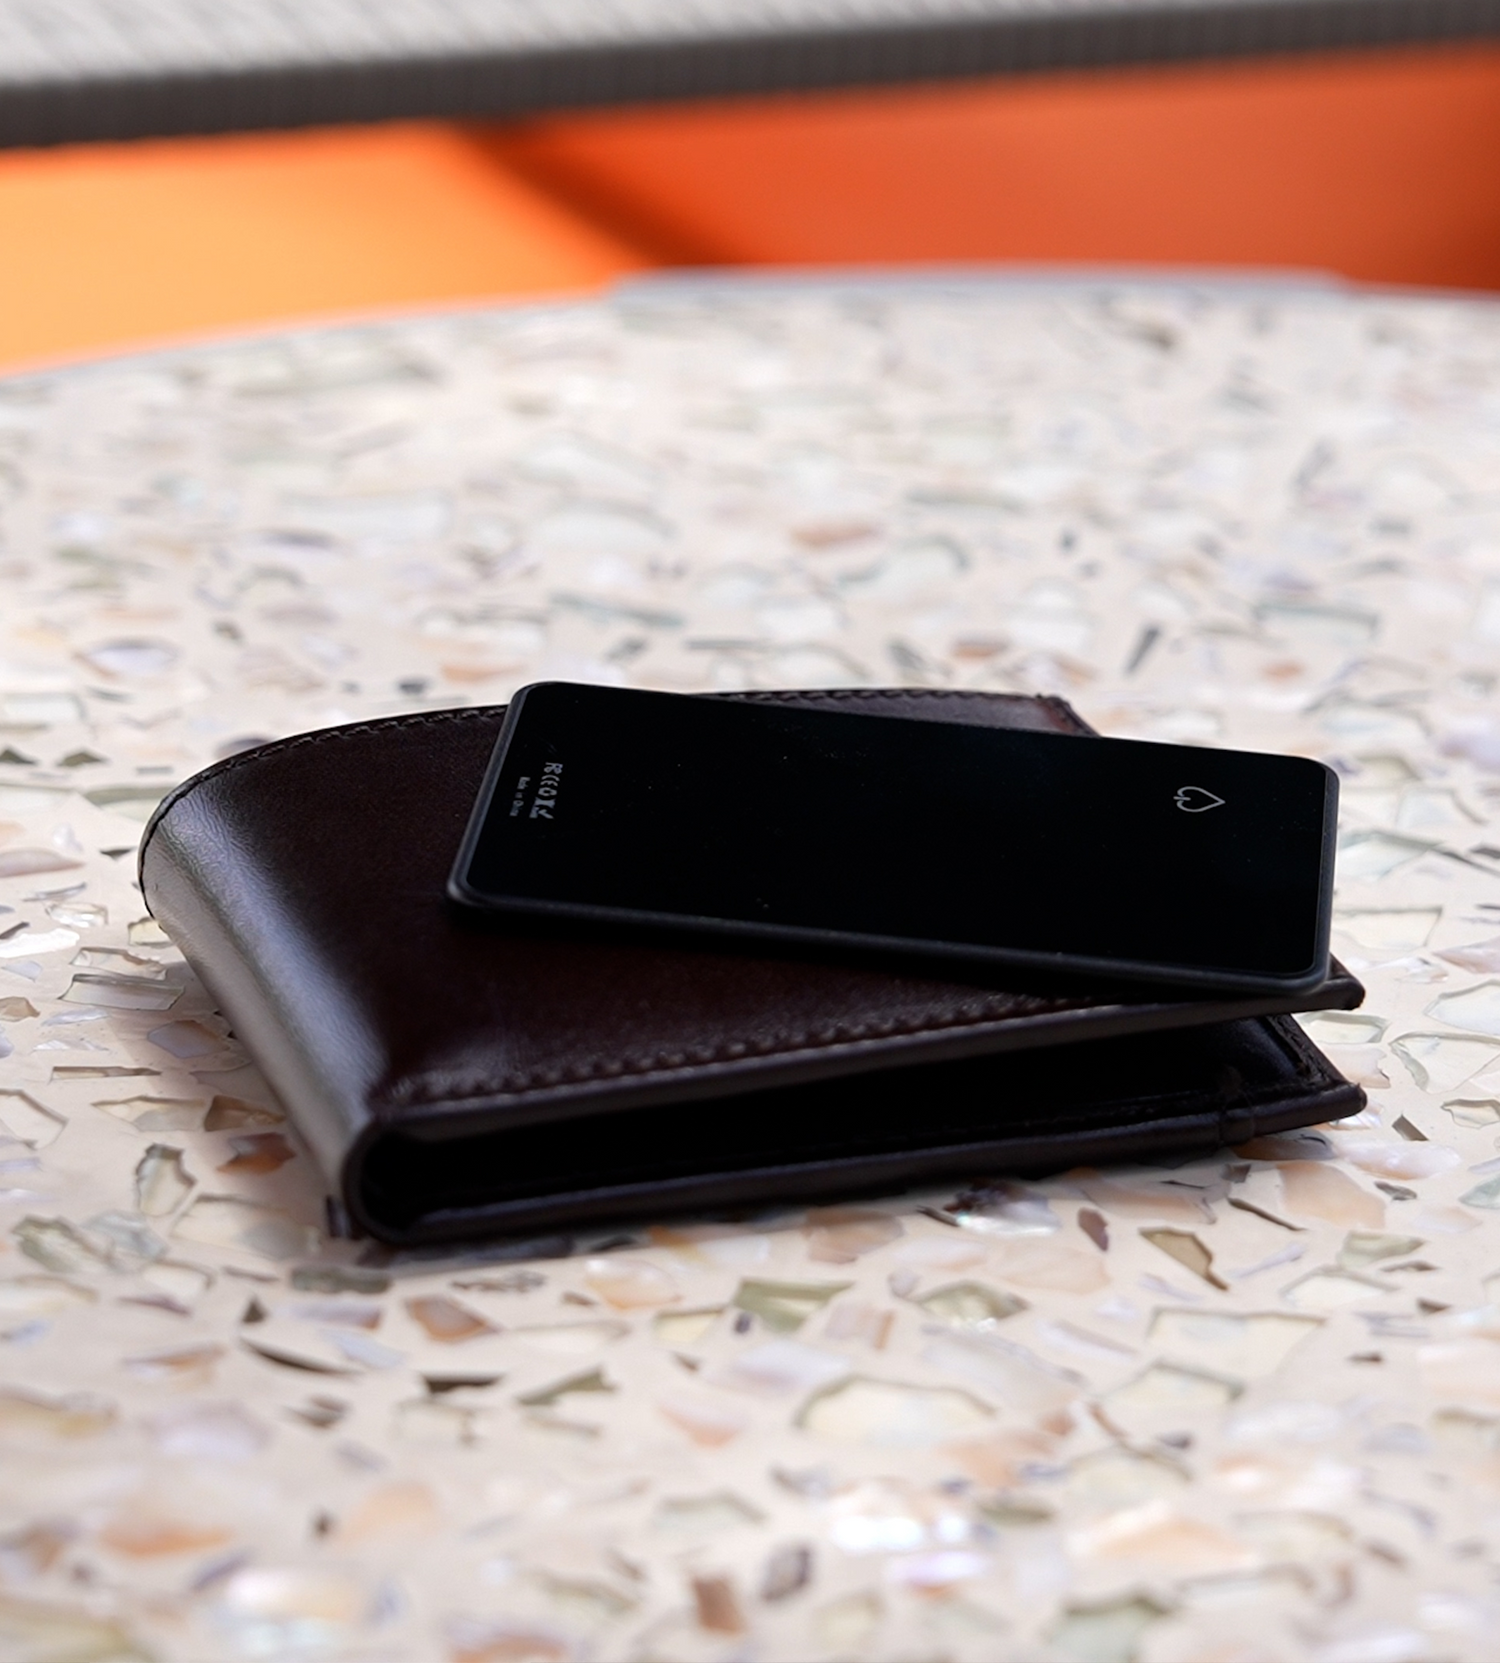
AceCard features an NFC digital business card feature. But really, it can be used for anything. The NFC chip is denoted on the AceCard by a small NFC logo on the back of the AceCard, towards the bottom on the side opposite from the power button. Holding this NFC chip close to an NFC receiver in an Apple or Android phone will instantly bring up a link on the users phone. This link is most optimally used as a digital business card since the card will predominantly live in your wallet. If you wanted to use it to link to a video or a LinkedIn profile you have all the power to do that as well. Out of the box, the NFC chip will scan you to a tutorial page on how to set up your NFC chip correctly.
This guide will help you get the best of your AceCard. If at any point you are having trouble using your AceCard please reach out to support@acecards.co and we will help you resolve your issue.

Leave a comment
This site is protected by hCaptcha and the hCaptcha Privacy Policy and Terms of Service apply.